
Overview
The Templates page is where you manage all notification templates. Navigate to Notifications > Templates in the sidebar menu. You can switch between the System and User tabs to view the different template types.
System templates
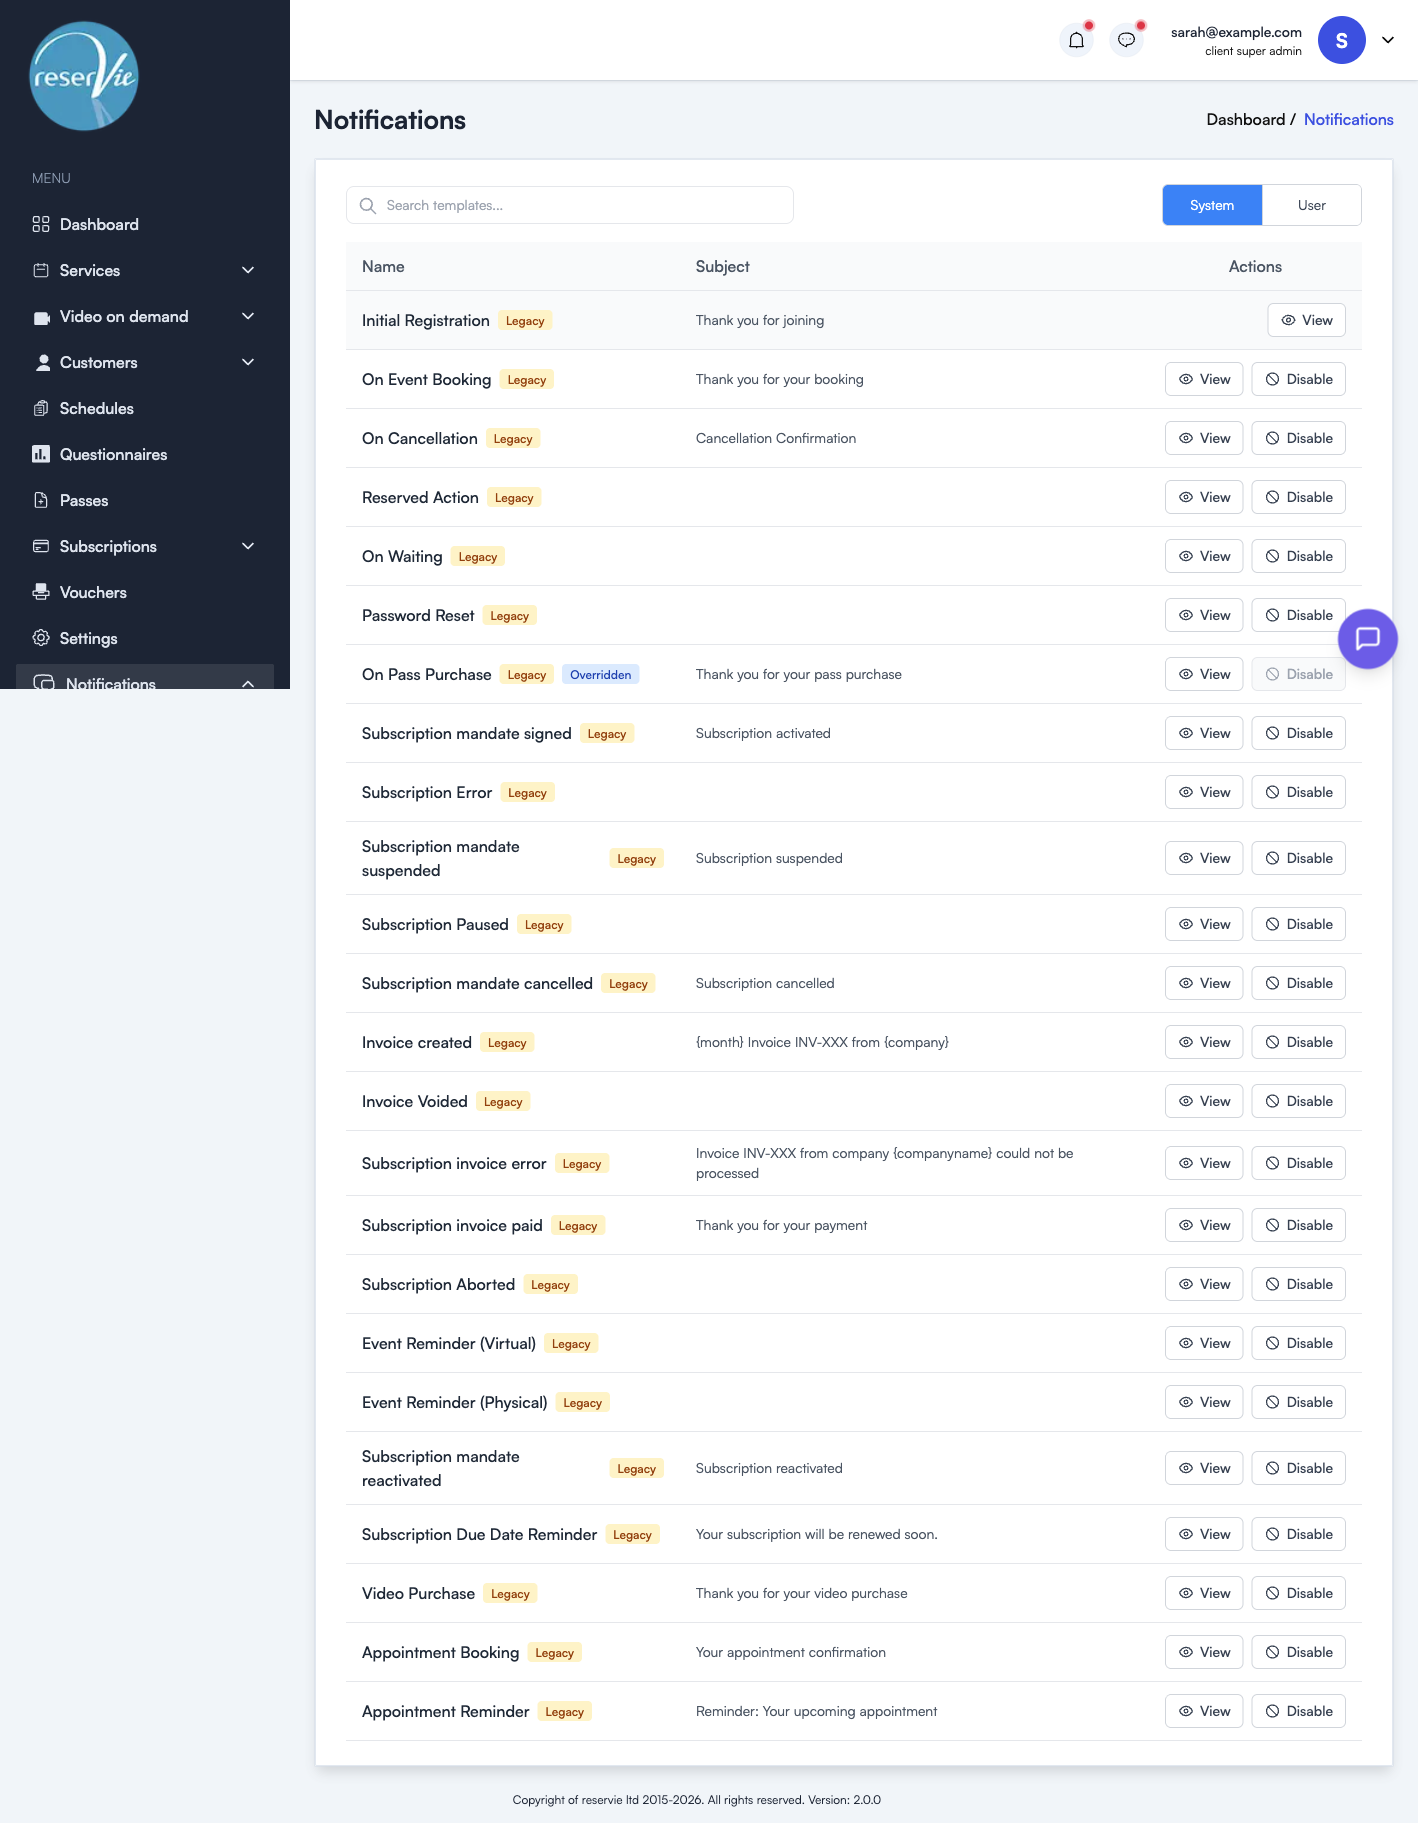
The System tab shows all built-in templates. Each row displays:
| Column | Description |
|---|---|
| Name | The template name and a Legacy badge |
| Subject | The email subject line |
| Actions | View to preview the template, Disable to turn it off |
When a system template has been overridden by a user-defined template, it shows an Overridden badge and the Disable button is greyed out.
Viewing a system template
Click View to see the template’s subject line and email body. System templates use template tags (see below) for dynamic content such as the customer’s name or purchase details.
Disabling a system template
Click Disable to stop a system template from being sent. This is useful if you do not want a particular notification type to fire at all, or if you are managing that communication through other channels.
User templates
Switch to the User tab to see your custom templates. This tab also shows the Create Template button.
The User tab displays:
| Column | Description |
|---|---|
| Trigger | The trigger type this template overrides |
| Name | The template name |
| Subject | The email subject line |
| Actions | View, Edit, or Delete the template |
Creating a user template
- Click Create Template on the User tab
- Fill in the Basic Details:
- Override System Template — Select which trigger type this template will override (e.g. Event Booking, Pass Purchase)
- Template Name — A descriptive name for your reference
- Description — Optional notes about the template
- Fill in the Email Content:
- Subject Line — The subject your customers will see
- Email Body — The message content. Use the tag picker beneath the editor to insert placeholders at the cursor; it lists only the tags that work for the trigger you selected
- Click Save Template
Editing a user template
Click Edit on any user template to modify its name, subject, or body content. Click Save Template when done.
Deleting a user template
Click Delete to remove a user template. Once deleted, the system template will resume as the default for that trigger type.
Template tags
Tags insert live information into the subject line and the body. Write them as {name}, or click one in the tag picker beneath the editor. The picker shows only the tags available for the trigger you have chosen, with an example value for each. For the full reference, see Email Template Placeholders.
The tags you will use most:
| Tag | Renders |
|---|---|
{firstname} {lastname} | The customer’s name |
{eventname} / {service} | The class or service booked |
{ticket} / {option} | The pricing option or appointment option |
{facilitator} | Who is teaching or treating |
{location} | Where. “online” for a virtual class; empty if none is set |
{day} {date} {month} {year} {time} {duration} | The date and time, as parts you arrange yourself |
{dates} | One line per booked date, for bookings that cover several dates |
{company} {url} | Your studio name and website |
A booking confirmation might read:
Hello {firstname},

Thank you for booking {eventname} with {facilitator}. You are booked for:
{dates}

We look forward to seeing you at {location}.

Best wishes
{company}
Which the customer receives as:
Hello Sarah,

Thank you for booking Vinyasa Flow with Jo. You are booked for:
Tuesday 8 September 2026 at 9:30 am
Thursday 10 September 2026 at 9:30 am

We look forward to seeing you at Studio 2.

Best wishes
Test Studio
Older templates
Templates written before September 2026 may use older tags such as {purchase} or {event}…{!event}. They still work exactly as before. When a template contains one, the editor shows a small Uses legacy placeholders note with a link to the Legacy placeholders section. You do not have to change anything, but the newer tags give you more control over the wording.