Why these exist
Four small pieces of configuration sit alongside Events. They’re managed in their own sections so you only have to set them up once, then attach them to as many events as you like.
| Page | Purpose |
|---|---|
| Categories | Group events into types so customers can browse and filter |
| Locations | Save physical venues with addresses |
| Terms | Event-specific terms and conditions shown at checkout |
| Payment Rules | Automatic discounts based on booking quantity or dates |
All four are attached to events from Step 3 (Configure) of the event editor. Payment rules are attached from Step 2 (Pricing & booking).
Categories
Services → Categories
Categories let customers find the kind of event they’re looking for — Yoga, Pilates, Meditation, Workshops, Retreats, and so on. They’re optional, but if you run more than a handful of event types, they make your booking page far more navigable.
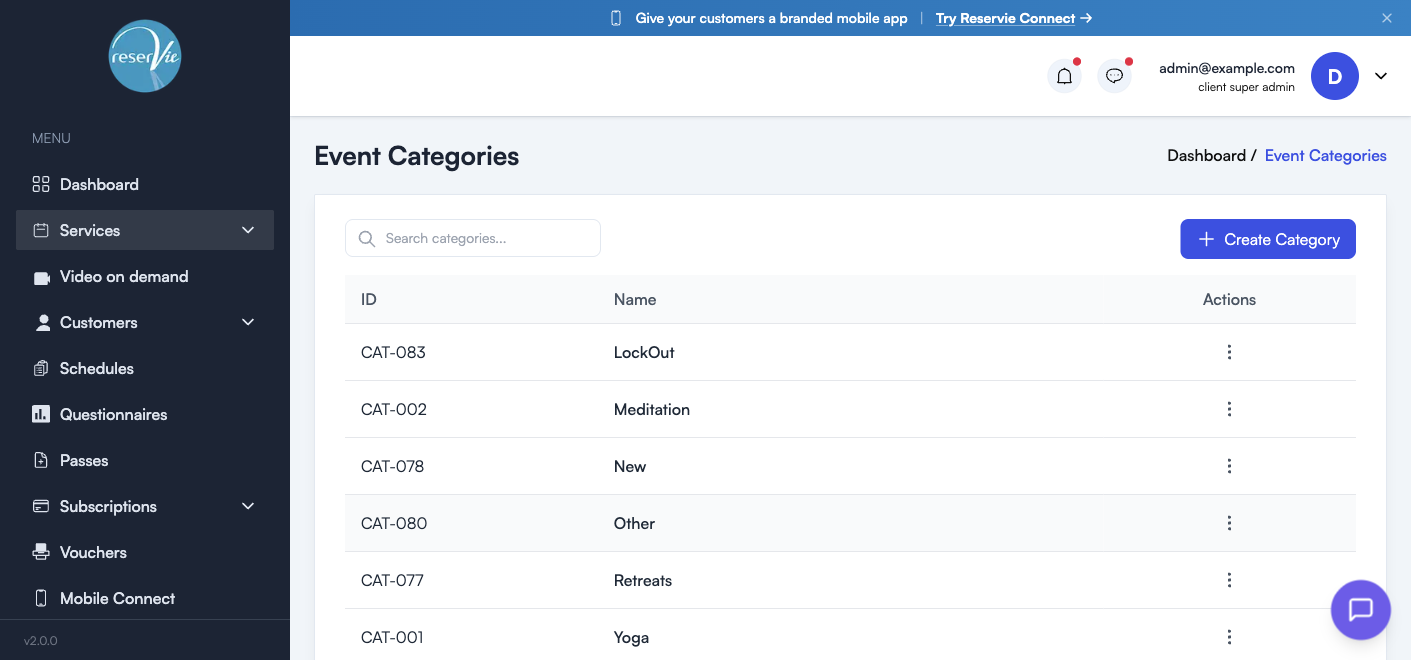
The categories table
| Column | What it shows |
|---|---|
| ID | Auto-generated identifier (e.g. CAT-001) — useful for API/reporting |
| Name | The category name customers see |
| Actions | Edit or delete the category (three-dot menu) |
A search box at the top filters by name as you type.
Creating a category
Click + Create Category. Enter a category name and click Save.
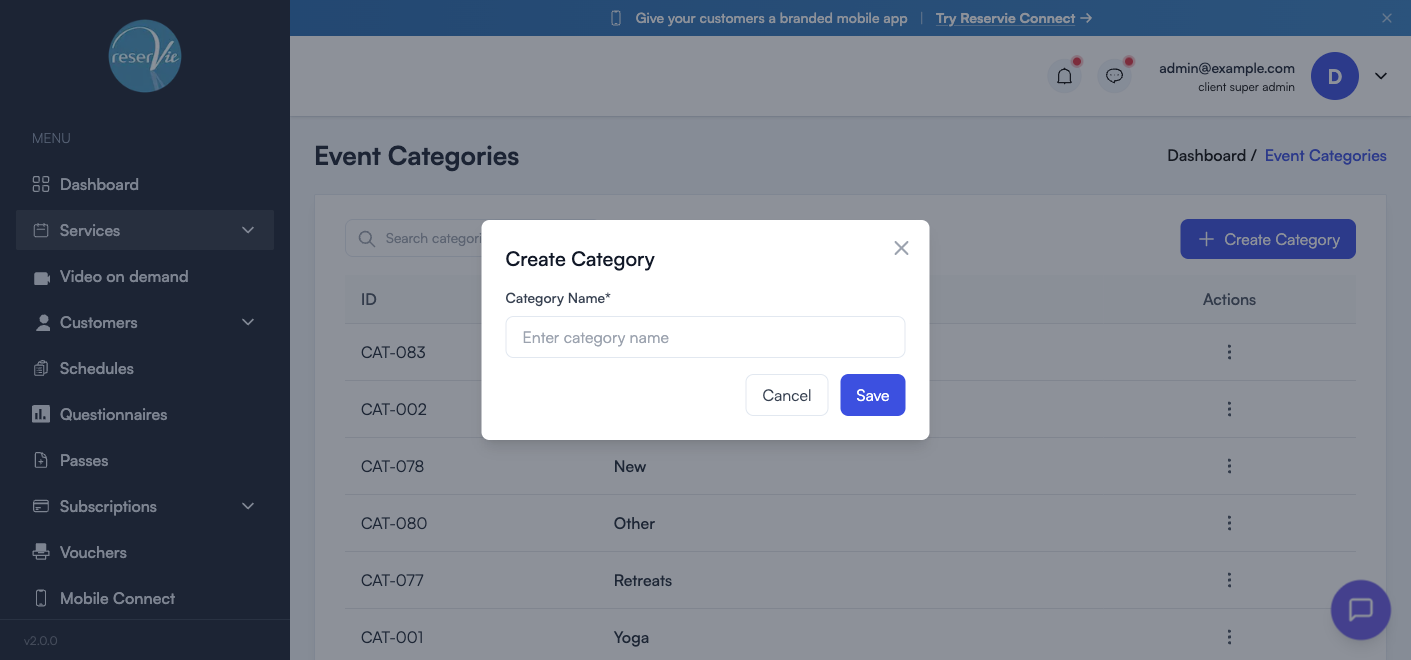
Once saved, the category is immediately available in the event editor’s Properties → Categories picker.
Deleting a category
Use Actions → Delete on a category row. If the category is currently attached to one or more events, those events lose the tag but otherwise carry on as normal — no booking data is affected.
Tip: keep your category list short. 5–8 broad categories work better than 20 niche ones — customers shouldn’t have to think hard to find their class.
Locations
Services → Locations
Locations are saved physical venues. Once a location exists, you can attach it to any in-person event without re-typing the address — and the location appears in the customer’s confirmation email and calendar invite.
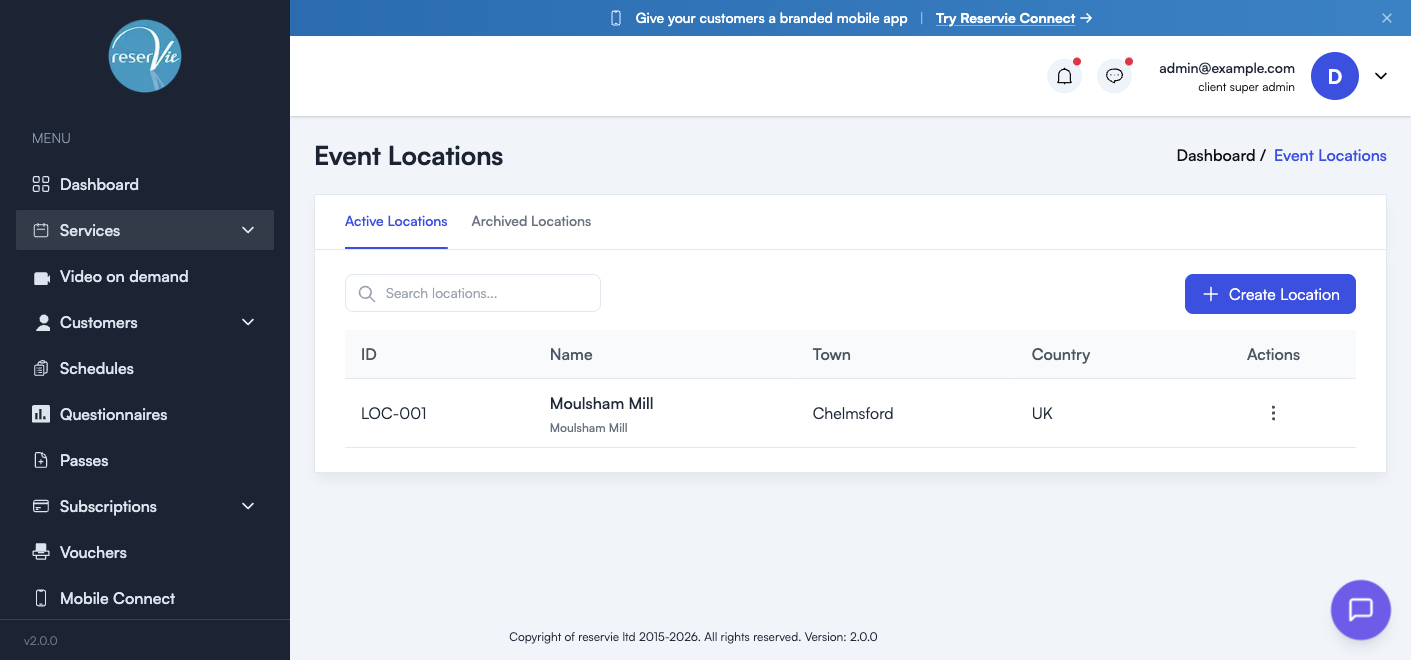
Active vs Archived
Two tabs at the top:
| Tab | Shows |
|---|---|
| Active Locations | Venues currently in use |
| Archived Locations | Venues you’ve archived — kept for historical bookings but hidden from new event creation |
Archive (rather than delete) when you stop using a venue but want past bookings to keep showing the right address.
The locations table
| Column | Notes |
|---|---|
| ID | Auto-generated (LOC-001) |
| Name | The venue name (with optional sub-title beneath, e.g. building name) |
| Town | Town or city |
| Country | Country |
| Actions | Edit or archive |
Creating a location
Click + Create Location to open the form:

| Field | Notes |
|---|---|
| Location Name (required) | The venue name customers will see |
| Description | Useful for access details, parking, building entrance instructions |
| Address Line 1 (required) | Street address |
| Address Line 2 | Suite, floor, building wing, etc. |
| Town/City (required) | |
| Postal/Zip Code (required) | |
| Country (required) | Selected from a dropdown |
The right-hand panel offers a Map Preview powered by Google Maps. Toggle it on to confirm the address resolves to the right point on the map — particularly helpful for venues in shared buildings, mews properties, or anywhere the postal address might be ambiguous.
Terms
Services → Terms
Terms are blocks of terms-and-conditions copy shown to customers at checkout. They sit in addition to your standard account-wide terms, and they’re useful when a specific event has rules of its own — e.g. a retreat with a non-refundable deposit, a course with attendance commitments, or an event with age restrictions.
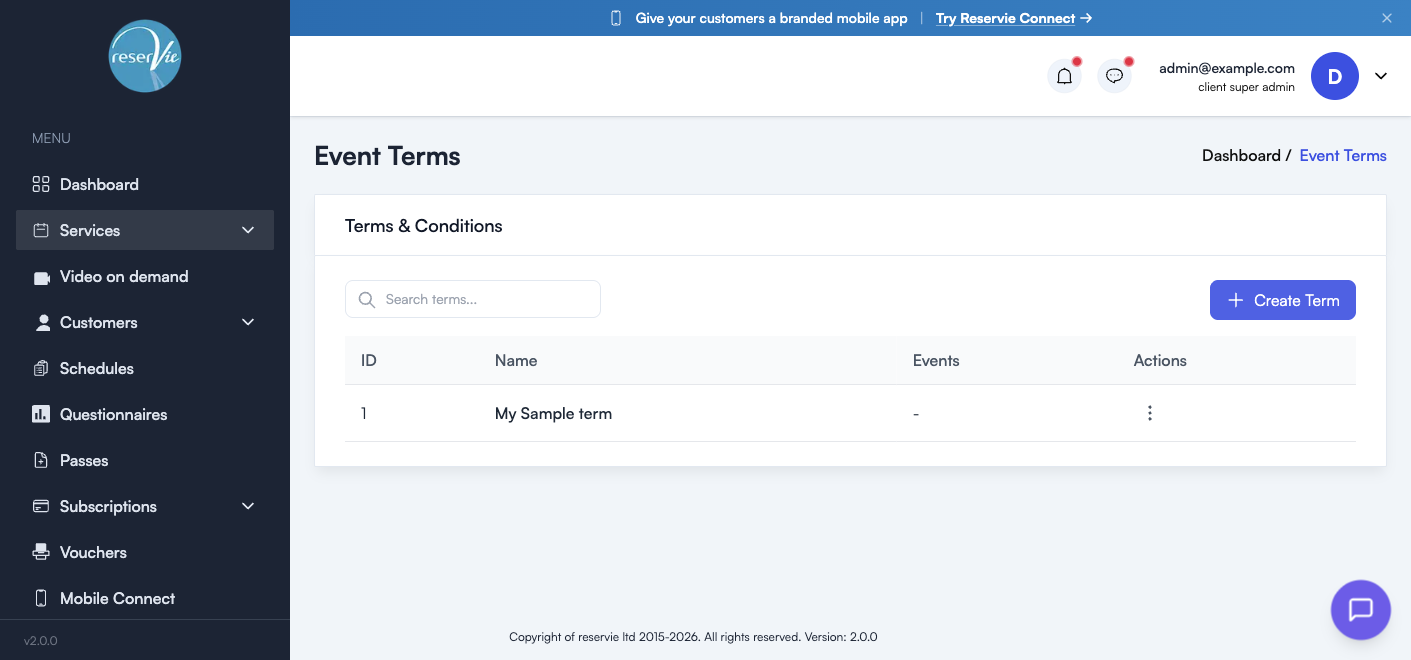
The terms table
| Column | Notes |
|---|---|
| ID | Auto-generated identifier |
| Name | The internal name of the terms set (e.g. “Retreat — non-refundable deposit”) |
| Events | The number of events currently using this terms set |
| Actions | Edit or delete |
Creating a term
Click + Create Term to open the editor:
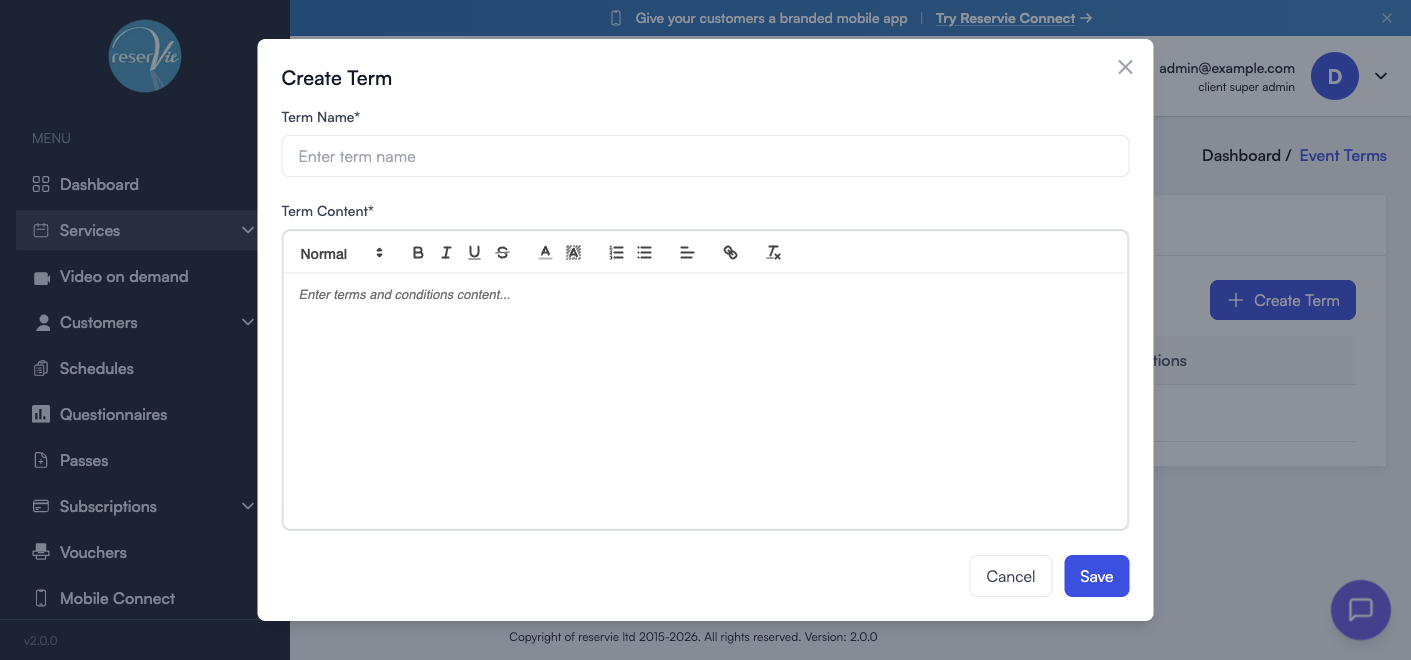
| Field | Notes |
|---|---|
| Term Name (required) | An internal label — customers don’t see this directly |
| Term Content (required) | The text customers see at checkout. Rich-text editor with headings, bold, italic, underline, lists, links, and alignment |
Click Save to add the term to your library. It’s then attachable to any event from the editor’s Properties → Terms & Conditions field.
Important: event terms are additional — your account’s standard terms still apply. Use this page for the bits that vary by event, not for your platform-wide terms.
Payment Rules
Services → Payment Rules
Payment rules are automatic discounts that kick in based on what a customer is buying. The two types cover the most common multi-buy patterns:
| Rule type | Triggers when… | Example use |
|---|---|---|
| Date-based | The customer is booking multiple dates of the same event in one transaction | Course discount: 10% off when booking 6+ sessions |
| Place-based | The customer is booking multiple places for the same date | Bring-a-friend: 20% off when booking 2 places together |
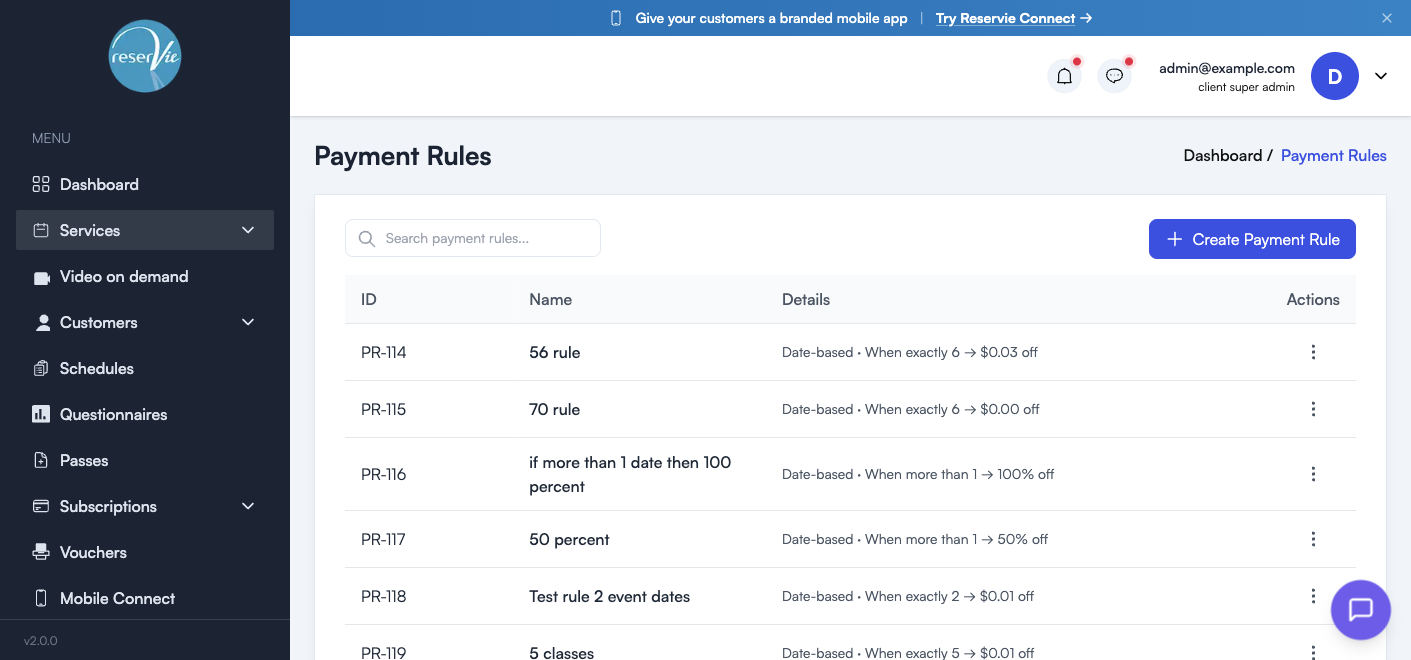
The payment rules table
| Column | Notes |
|---|---|
| ID | Auto-generated (PR-114) |
| Name | Internal name — descriptive helps when you have several |
| Details | A summary of the rule logic, e.g. “Date-based · When exactly 6 → £0.03 off” |
| Actions | Edit or delete |
Creating a payment rule
Click + Create Payment Rule:
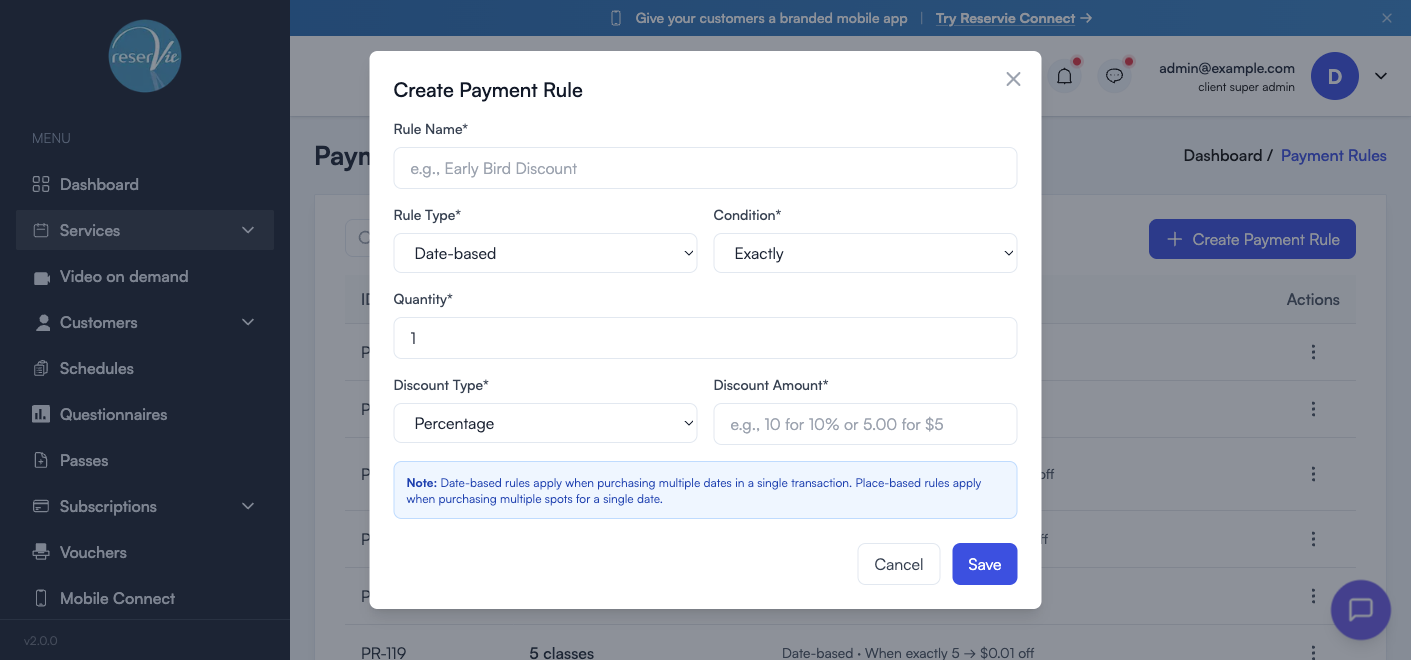
| Field | Options |
|---|---|
| Rule Name (required) | E.g. “Early Bird Discount”, “Course package” |
| Rule Type (required) | Date-based or Place-based |
| Condition (required) | Exactly / More than / Less than the chosen quantity |
| Quantity (required) | The number that triggers the rule |
| Discount Type (required) | Percentage or Fixed amount |
| Discount Amount (required) | E.g. 10 for 10%, or 5.00 for a £5 (or $5 / €5) discount |
The blue note in the modal is worth re-reading: date-based rules apply when buying multiple dates in one transaction; place-based rules apply when buying multiple spots for one date.
Attaching a rule to an event
Once created, payment rules are attached in the Pricing & booking step (Step 2) of the event editor, in the Payment Rules section beneath pricing options. You can attach more than one — they stack in order of evaluation.
Worked examples
| Goal | Rule type | Condition | Discount |
|---|---|---|---|
| 10% off when buying 6+ classes in a course | Date-based | More than 5 | Percentage 10 |
| £5 off when booking 2 places at a workshop | Place-based | Exactly 2 | Fixed amount 5.00 |
| £20 off the full 8-week course | Date-based | Exactly 8 | Fixed amount 20.00 |
| Free 2nd ticket on date events | Place-based | Exactly 2 | Percentage 50 |
When to use a payment rule vs a voucher
| Use a payment rule when… | Use a voucher when… |
|---|---|
| The discount should be automatic (no code needed) | The discount should be gated by a code |
| The discount depends on quantity | The discount applies to anyone who has the code |
| You’re rewarding multi-class commitment | You’re running a marketing promo |
Both can be attached to the same event — for example, a payment rule for course booking plus a voucher for a launch promotion.